
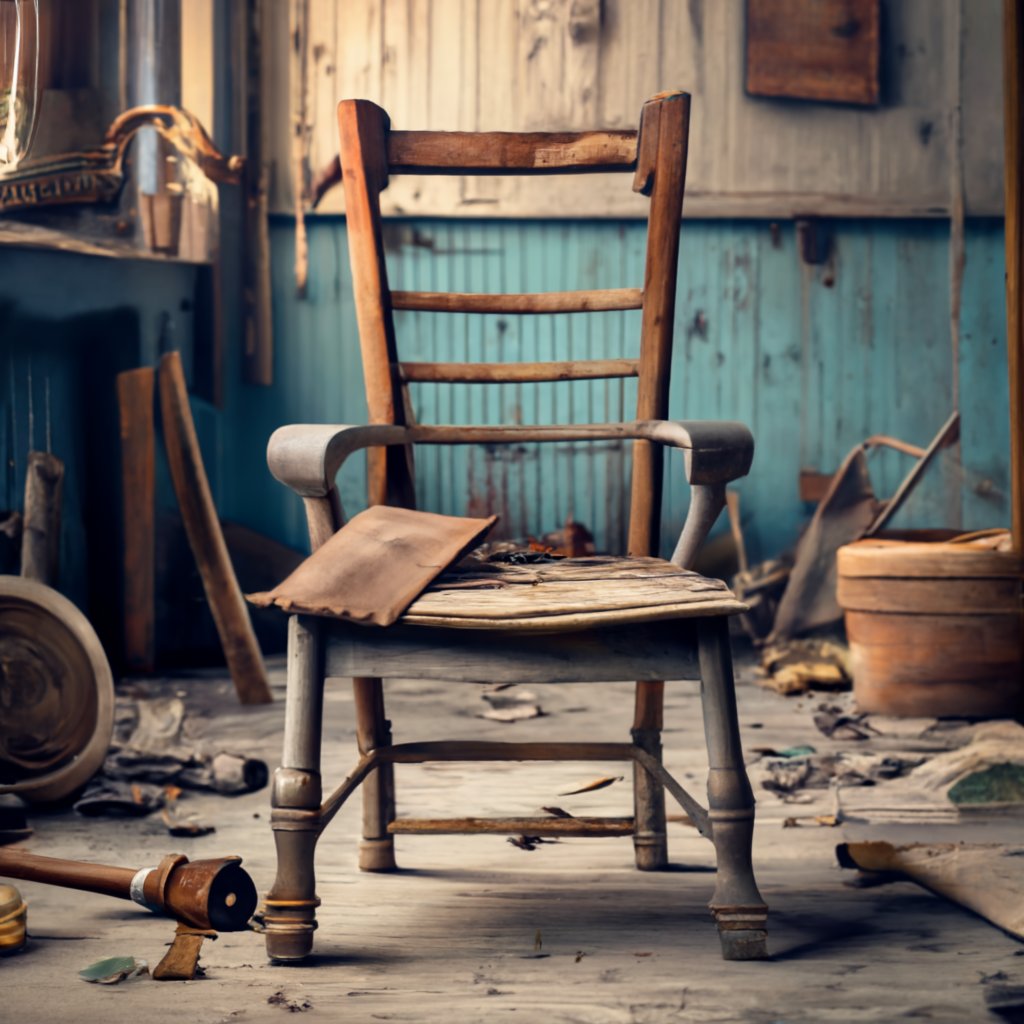
So, you’ve got this beautiful old wooden furniture piece that has seen better days, but you just can’t bring yourself to throw it away. Well, good news – there’s a way to bring back its former glory! Restoring old wooden furniture may seem like a daunting task, but with a few essential tips up your sleeve, you’ll be amazed at what you can achieve. Whether it’s removing layers of old paint, repairing scratches and dings, or simply reviving its natural beauty, these practical tips will guide you through the process and help you bring your beloved piece of furniture back to life.
Choosing the Right Piece
Restoring old wooden furniture can be a fulfilling and rewarding project, but it’s important to choose the right piece to work on. Before diving into a restoration project, take the time to evaluate the condition of the furniture, consider your skill level, and determine its value and sentimental importance.
Evaluate the Condition
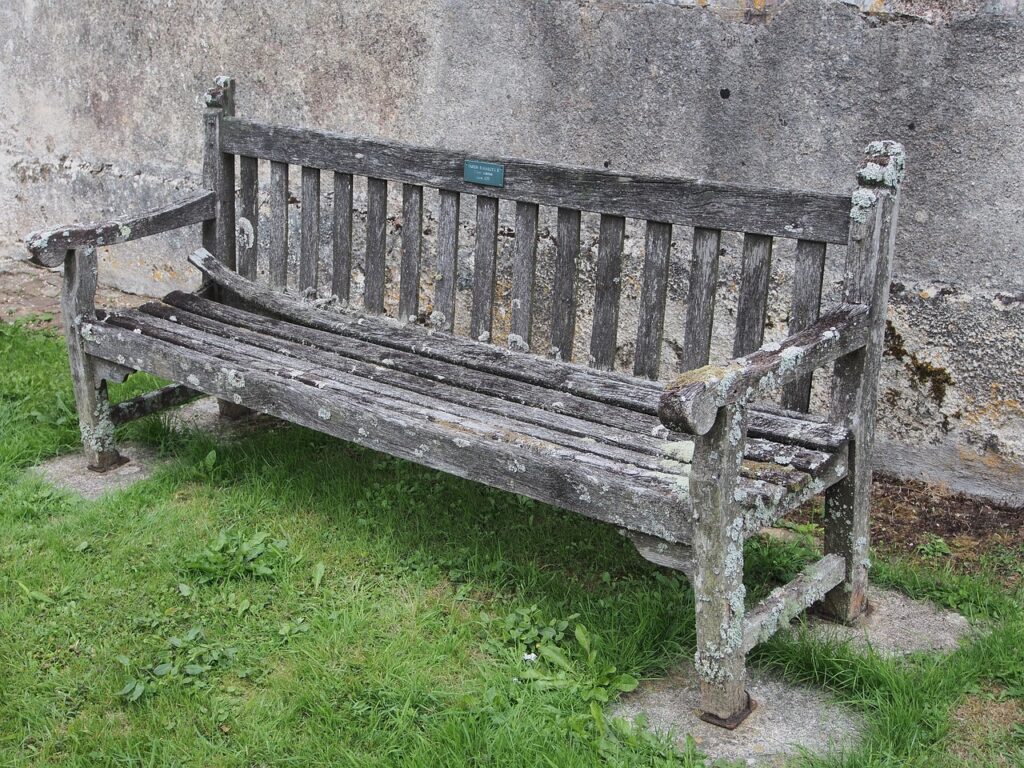
The first step in choosing the right piece to restore is to thoroughly evaluate its condition. Look for any signs of damage, such as cracks, chips, or missing parts. Consider the overall stability of the furniture and whether any repairs are needed.
Consider Your Skill Level
Another crucial factor to consider when choosing a piece to restore is your skill level. If you’re a beginner, it’s best to start with a simpler piece that requires minimal repairs and refinishing. As you gain more experience and confidence, you can take on more challenging projects.
Determine the Value and Sentimental Importance
Lastly, take into account the value and sentimental importance of the furniture. If a piece has sentimental value or is an antique with significant historical or monetary worth, it may be worth investing the time and effort into its restoration. However, if the piece has little value or sentimental significance, you may want to reconsider whether it’s worth restoring or if it would be better to find another project.

Preparing the Furniture
Once you have chosen the right piece of furniture to restore, it’s time to prepare it for the restoration process. This involves cleaning the surface, removing old finishes, and repairing any structural damage.
Clean the Surface
Before getting started on any restoration work, it’s crucial to clean the surface of the furniture. Use a mild cleaning solution or a mixture of water and vinegar to remove any dirt, grime, or wax buildup. Make sure to gently scrub the surface, and avoid using abrasive materials that could scratch or damage the wood.
Remove Old Finishes
If the furniture has old finishes, such as paint or varnish, it’s important to remove them before refinishing. There are several methods for removing old finishes, including chemical strippers and heat stripping. Choose the method that suits your preferences and the type of finish you’re dealing with (more on this later in the article).
Repair Any Structural Damage
Once the surface is clean and free of old finishes, carefully inspect the furniture for any structural damage. Look for loose joints, broken parts, or weak areas. If you come across any issues, take the time to repair them before proceeding with the restoration process. This may involve gluing loose joints, replacing broken or missing parts, or reinforcing weak areas with additional support.
Selecting the Right Tools and Materials
Having the right tools and materials for the restoration process is crucial for achieving quality results. Here are some essentials you’ll need:
Sandpaper and Sanding Blocks
Sandpaper and sanding blocks are essential for smoothing the surface of the wood. Start with a coarse grit sandpaper to remove any rough spots or imperfections, and gradually progress to finer grits for a smooth finish. Sanding blocks can be particularly useful for reaching detailed areas and providing a consistent sanding pressure.
Wood Filler
Wood filler is a must-have for repairing any cracks, holes, or gaps in the wood. Choose a wood filler that matches the color of the wood or one that can be stained or painted over for a seamless finish. Apply the wood filler to the damaged areas and smooth it out with a putty knife before sanding.
Stain or Paint
Depending on the desired look for your restored furniture, you may choose to stain or paint it. Stain can enhance the natural beauty of the wood, while paint can provide a fresh and vibrant appearance. Consider the overall aesthetic you’re aiming for and select the appropriate stain or paint color.
Clear Coat or Sealant
To protect the restored furniture and enhance its longevity, applying a clear coat or sealant is essential. Clear coats can provide a glossy or satin finish, while sealants can add a more natural and matte look. Choose a product that suits your preference and follow the manufacturer’s instructions for application.
Stripping the Furniture
Before refinishing the furniture, you may need to strip off any old finishes that remain on the wood. There are two main methods for stripping furniture: chemical stripping and heat stripping.
Chemical Stripping
Chemical stripping involves using a chemical paint or finish remover to dissolve and remove old finishes. Apply the stripper to the surface, let it sit according to the manufacturer’s instructions, and then use a scraper to remove the softened finish. Be sure to follow proper safety precautions and work in a well-ventilated area when using chemical strippers.
Heat Stripping
Heat stripping involves using heat, usually from a heat gun, to soften and remove old finishes. Hold the heat gun a few inches away from the surface and move it back and forth until the finish begins to bubble or soften. Use a scraper to gently remove the softened finish. Take care not to apply too much heat, as excessive heat can damage the wood.
Sanding and Smoothing the Surface
After stripping the furniture, it’s time to sand and smooth the surface to achieve a clean and polished look. Follow these steps for effective sanding:
Start with Coarse Grit Sandpaper
Begin sanding with a coarse grit sandpaper, such as 80 or 100 grit, to remove any remaining finish and smooth out rough spots. Sand in the direction of the wood grain, applying even pressure. Keep the sandpaper moving to avoid creating uneven indentations.
Progress to Finer Grits
Once the initial sanding is complete, progress to finer grits, such as 150 or 180 grit, to further smooth the surface. Continue sanding in the direction of the wood grain until the surface feels smooth to the touch. Remember to remove all dust and debris between sanding grits to ensure a clean surface.
Use Sanding Blocks for Detailed Areas
For detailed areas or hard-to-reach corners, use sanding blocks to provide more precise control. Sanding blocks can help avoid over-sanding in small areas and produce consistent results. Choose a sanding block that fits comfortably in your hand and use it along with the appropriate grit sandpaper for the task at hand.
Repairing and Rebuilding
During the restoration process, you may come across various issues that require repair or rebuilding. Here are some common repairs you may encounter:
Gluing Loose Joints
If you encounter loose joints in the furniture, a simple solution is to apply wood glue to the joint and clamp it together until the glue dries. Make sure to remove any old glue or debris from the joint before applying the new adhesive. This will help restore stability and prevent further damage.
Replacing Broken or Missing Parts
In some cases, you may need to replace broken or missing parts of the furniture. This could include drawer pulls, chair legs, or decorative elements. Look for replacement parts that match the original style or consider adding your own unique touch to the piece.
Reinforcing Weak Areas
If you notice weak areas in the furniture or suspect that certain sections are prone to damage, consider reinforcing them. This can be done by adding extra support, such as corner brackets or braces, or even by regluing areas that may have weakened over time. Reinforcing weak areas will help ensure the longevity of the restored furniture.

Staining or Painting
Once the repairs and rebuilding are complete, it’s time to decide whether to stain or paint the furniture. Consider these factors when making your decision:
Testing the Stain or Paint
Before applying the stain or paint to the entire piece, it’s essential to do a test patch on a small, inconspicuous area. This will help you determine how the color looks on the wood and whether you need to make any adjustments. It’s also a good opportunity to experiment with different techniques, such as staining or painting over existing finishes.
Applying Multiple Coats
To achieve a rich and even color, it’s often necessary to apply multiple coats of stain or paint. Follow the manufacturer’s instructions for drying times between coats and be sure to lightly sand the surface between each coat to remove any imperfections. Remember to apply thin coats to prevent drips or pooling.
Using a Brush or Sprayer
When applying stain or paint, choose the appropriate tool for the job. a brush is a versatile option that allows for more control, especially in detailed areas. A sprayer can provide a more even and efficient application, but it may require more practice to achieve desired results. Consider the size of the project, the desired finish, and your personal preference when selecting the application method.
Applying a Clear Coat or Sealant
Once the stain or paint has dried, it’s important to apply a clear coat or sealant to protect the wood and enhance its appearance. Consider the following when applying a clear coat or sealant:
Choosing the Right Type
There are various types of clear coats and sealants available, including polyurethane, varnish, lacquer, and wax. Each has its own characteristics and level of protection. Research the options and choose a product that aligns with your desired finish and level of durability.
Applying Thin Coats
When applying a clear coat or sealant, it’s essential to use thin coats to avoid a thick, uneven finish. Apply the product using a brush or sprayer, following the manufacturer’s instructions for drying times between coats. Sand lightly between coats to promote adhesion and ensure a smooth surface.
Sanding Between Coats
To achieve a smooth and flawless finish, sand the surface lightly between coats of clear coat or sealant. Use a fine grit sandpaper, such as 220 or 320, to remove any imperfections or dust particles. Be careful not to sand through the layers or damage the previous coats.

Replacing or Refinishing Hardware
The hardware on a piece of furniture can greatly contribute to its overall appearance. Consider whether you want to restore the existing hardware or replace it with new pieces:
Removing and Cleaning Hardware
If you choose to restore the existing hardware, carefully remove it from the furniture using appropriate tools, such as a screwdriver or pliers. Clean the hardware using a mild detergent or a mixture of water and vinegar to remove any dirt or tarnish. For more stubborn stains or corrosion, use a brass or metal polish.
Repairing or Replacing Hardware
If the existing hardware is damaged or doesn’t fit with the overall aesthetic of the restored furniture, consider repairing or replacing it. This could involve straightening bent handles, reattaching loose screws, or searching for new hardware that matches the style and size of the original pieces.
Choosing New Hardware
When choosing new hardware, keep in mind the style, size, and functionality of the piece. Consider the existing design elements and select hardware that complements or enhances the overall look. Additionally, ensure that the new hardware fits properly and is suitable for the specific needs of the furniture, such as drawer pulls that are easy to grasp.
Final Touches and Finishing Up
As you near the end of the restoration process, don’t overlook the final touches that can make a significant difference in the overall appearance and function of the furniture.
Buffing and Polishing
After the clear coat or sealant has dried, consider buffing or polishing the surface to further enhance its shine and smoothness. Use a soft cloth or buffing pad to gently rub the surface in circular motions. This will help eliminate any residual imperfections and bring out the natural beauty of the wood.
Cleaning and Conditioning the Wood
Before placing the furniture in its final location, give it a thorough cleaning and conditioning. Use a mild wood cleaner or a mixture of water and vinegar to remove any dust or residue. Follow up with a wood conditioner or polish to restore moisture and protect the wood from drying out.
Adding Protective Pads or Felt
To prevent scratches or damage to the furniture and the surfaces it comes in contact with, consider adding protective pads or felt to the bottom of chairs, tables, or other pieces. This will help preserve the restored furniture and ensure that it remains in good condition for years to come.
Restoring old wooden furniture is a labor of love that requires time, patience, and skill. By carefully choosing the right piece, preparing the furniture, selecting the appropriate tools and materials, and following the proper restoration techniques, you can transform worn-out furniture into beautiful and functional pieces that will be enjoyed for generations. Remember to take your time and enjoy the process of bringing new life to old treasures.